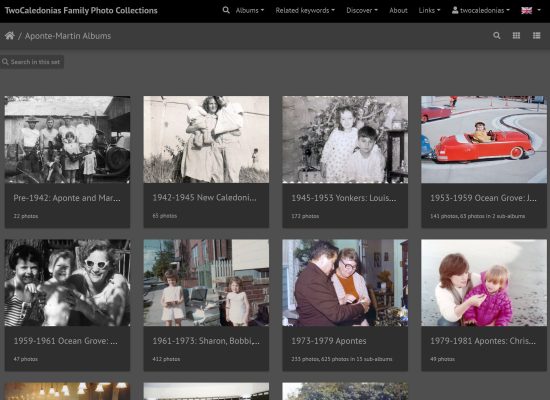
As I scan our family photo collection, I am rehousing those in my custody in more appropriate materials for their long-term preservation. Once rehoused, the new location is tracked in an Excel spreadsheet. For example, Album 1, Oversized Folder 2, Box 5, etc.
Archival storage is not inexpensive, and I don’t want to make purchase decisions until I know the volume of any particular format that needs rehousing. I’ve decided on some interim solutions and have been shopping for long-term storage solutions. You can find some recommended supplies in my Amazon list here (I don’t make any commissions from this).
Here are my top tips for preserving your family photos and documents, for the interim and for the long-haul.
- Scan your photos so they don’t have to be handled regularly.
See my other post on how I’m scanning our family collections. If you do have to handle photos, white cotton gloves are a good idea. Documents are not as susceptible to oils on our hands, but it’s always a good idea to wash your hands ahead of time.
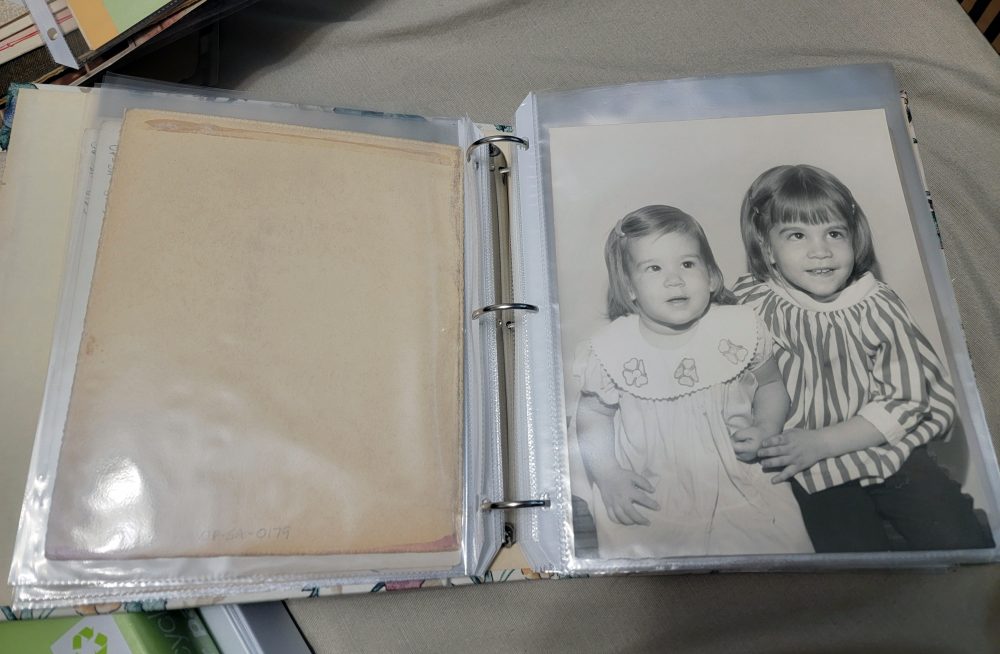
- Get your photos out of those awful “magnetic” (sticky) photo albums.
These albums, especially popular from the 1970s onward, are treacherous. In some cases, the adhesive is so dried out that your photos may fall out or are easily removed. Do not, under any circumstances, force their removal. If your photos are even minimally stuck to the page, peel back the plastic cover and use a blow dryer to heat up the adhesive, then gently remove the photo, being carefully that the backing isn’t still sticking to the page. Once removed, flip the photo and rub your hand over the back to remove any adhesive (like removing eraser debris). Store these photos back-to-back so that any adhesive residue doesn’t damage the front of the photos. If the photos are curling, put them under a heavy book for awhile to flatten them a bit.
- Know your plastics (and your paper)!
Be sure your album pages/sleeves or plastic storage boxes are made of an “inert” plastic…in short, one that doesn’t smell like chemicals, doesn’t yellow, and doesn’t get sticky over time. Just remember that PVC is bad. Here is a great article by Gaylord, a well-known supplier of archival materials, on how to choose a plastic storage solution depending on the thing being stored. My choice is polypropylene for photographic materials. You can get away with polyethylene if you want to save some dough.
I’ve already started moving slides and oversized prints (5×7 and larger) to polypropylene sleeves in binders that are stored flat. I’ll transfer these to archival boxes once I figure out how many I need. As I scan smaller photos, I’m temporarily storing them in manila envelopes by number, inside small, lidded cardboard boxes I have on hand, until I decided what kind of permanent storage I want (albums or envelopes in boxes).
I’m storing documents in 8.5 x 14” acid-free folders inside a flip-lid acid-free box. Fragile documents and newsprint (or anything that can stain other documents) are enclosed in polypropylene sleeves inside the folders.

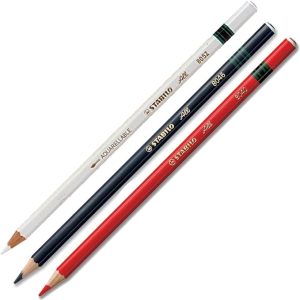
- Use appropriate pencils to label your photos.
Put the pens away! Man, my grandmother loved to write on photos in ink. A good #2 pencil with a light touch usually does the trick. But many prints from the 1970s onward have a glossy backing that you can write on with a lead pencil. I use Stabilo All graphite and colored pencils which are water-soluble and can be erased. White and red pencils are useful for writing on dark materials. They also write on glass, plastic, and metal. The only information I write on the back of photos is the photo number, as the captions and other info are captured in the database.